Using Google Vision API in your mobile Angular Ionic app
by bernt & torsten
I built a mobile app that is very basic in its functionality, it allows app users to take a picture, the picture that is taken is sent to the Google Vision API to determine if there is a logo in the picture and if a logo then sends the response back to the mobile app. Then the users have a choice of saving the image picture.
If the mobile app users are saving the picture they took, the mobile app sends the picture to Cloud Storage where it’s stored, and create a record in the Firebase database.
Here are the steps to make this happen.
- Setting up a Google Cloud Platform (GCP) project
- Create a Firebase project and link it with your GCP project
- Enable the Google Vision API
- Create the Vision API Key
- Write some code to make this work
Google Cloud Project
For the Google Vision API to work, we will need to create a Google Cloud Platform (GCP) project, if you don’t have done so before or do not have a GCP project you can sign up here Google Cloud Platform.
Creating a project
Google has great documentation on how to create and manage projects on GCP, then me repeating what already be documented. Just follow the instructions on how to create and manage projects on GCP.
Enable the Vision API
It is very simple to enable the Vision API, in the GCP project that you have created go to APIs & Services dashboard, click on the button Enable APIs and Services. Search for the Vision API and enable it.

Creating Vision API Key
The next step is to create the Vision API key, in the menu bar for APIs and Services, select credentials. Click on the Create Credentials to create a new API key.

Firebase
If you want to follow the code instructions in detail, then you need to set up a Firebase project and connect it with your GCP project. In the code that I will show I’m using the Firebase to store the image in Storage and create a record in Firebase. Go ahead and set up a Firebase project.
Building the Mobile App
I’m making the assumption that you already are familiar with Angular Ionic, and what I will do is to show you how to create an Ionic Page. I also made the assumption that you are familiar with the folder structure of an Angular Ionic project.
src/config
I keep my config files in the folder src/config, for the Google Vision API I create a file that I named googlecloudvisionapi.ts, this file contains the Vision API key. Looks like this:
export const googlecloudvisionapi = {
    googleCloudVisionAPIKey: "<Your API Key>"
};
src/providers
In the folder src/providers, I create a new folder that I name google-cloud-vision-service, and in the folder, I create a file that I name google-cloud-vision-service.ts this is the file that contains the code that makes API call to Google Vision API. The code looks like this.
import { Injectable } from '@angular/core';
import { HttpClient } from '@angular/common/http';
import 'rxjs/add/operator/map';

import { googlecloudapi } from '../../config/googlecloudvisionapi';

@Injectable()
export class GoogleCloudVisionServiceProvider {
  constructor(public http: HttpClient) { }
  // Setting up to detect logo in an image
    getLogo(base64Image) {
      const body = {
        "requests": [
          {
            "image": {
              "content": base64Image
            },
            "features": [
              {
                "type": "LOGO_DETECTION",
                "maxResults":1
              }
            ]
          }
        ]
      }
      return this.http.post('https://vision.googleapis.com/v1/images:annotate?key=' + googlecloudvisionapi.googleCloudVisionAPIKey, body);
    }
}
There are a few points to make about the code above, first I import the config information so I have the API key available:
import { googlecloudapi } from '../../config/googlecloudvisionapi';I’m using HttpClient to make the API call, I build up the body constant which includes the image and the type for Vision API detection, in my case I looking for Logo detection. Here is the line in the code:
return this.http.post('https://vision.googleapis.com/v1/images:annotate?key=' + googlecloudvisionapi.googleCloudVisionAPIKey, body);The type of detection in my code is set to Logo Detection, you can set it to one of the following:
"type": "LANDMARK_DETECTION"
"type": "FACE_DETECTION"
"type": "OBJECT_LOCALIZATION"
"type": "LOGO_DETECTION"
"type": "LABEL_DETECTION"
"type": "DOCUMENT_TEXT_DETECTION"
"type": "SAFE_SEARCH_DETECTION"
"type": "IMAGE_PROPERTIES"
"type": "CROP_HINTS"
"type": "WEB_DETECTION"
Test an Image
You can test Vision API with an image on this web page
src/pages/camera
camera.html
Below is the code for my .html page, this code shows how you can set up a page in your mobile app that allows for a picture to be taken and a button that saves the image to Cloud Storage.
<ion-header>
  <ion-navbar hideBackButton="true">
    <button ion-button menuToggle>
      <ion-icon name="menu"></ion-icon>
    </button>
    <ion-title>Cleanup App</ion-title>
  </ion-navbar>

</ion-header>
<ion-content class="bg">
  <ion-card>
        <ion-title>
            Take a picture
        </ion-title>
        <button ion-button full (click)="takePicture()" *ngIf="base64Image">Take a Picture</button>
  </ion-card>

  <ion-card>
      <img src="{{ base64Image }}" />
  </ion-card>
  <ion-card>
    <button ion-button full (click)="saveImage()">Save Image</button>
  </ion-card>
</ion-content>
camera.ts
import {Component} from '@angular/core';
import {NavController, NavParams, IonicPage, LoadingController,  ToastController} from 'ionic-angular';
import {AngularFireAuth} from '@angular/fire/auth';
import {AngularFireDatabase, AngularFireList, AngularFireObject } from '@angular/fire/database';
import {SocialSharing} from '@ionic-native/social-sharing/ngx';
import { Camera } from '@ionic-native/camera/ngx';
import {Geolocation} from '@ionic-native/geolocation/ngx';
import {GoogleCloudVisionServiceProvider} from '../../providers/google-cloud-vision-service/google-cloud-vision-service';
import 'rxjs/add/operator/catch';
import * as firebase from 'firebase/app';

@IonicPage()
@Component({
  selector: 'page-home',
  templateUrl: 'home.html',
  providers: [Camera]
})

export class HomePage {

  state = "normal";
  searchBarVisible = false;

  plastic: any= {};

  ts: any[] = [];
  key: any;

  date: any;

  rubbishRef: AngularFireList<any>;
  ForUpLoadRef: AngularFireList<any>;
  UserRef: AngularFireObject<any>;
  SevenDaysBack: any;

  public base64Image: string;
  public visionresponse: string;
  public objvisionresponse: string;

  constructor(
    public navCtrl: NavController,
    public navParams: NavParams,
    public loadingCtrl: LoadingController,
    public db: AngularFireDatabase,
    public af: AngularFireAuth,
    public toastCtrl: ToastController,
    public socialSharing: SocialSharing,
    private vision: GoogleCloudVisionServiceProvider,
    private geolocation: Geolocation,
    private camera: Camera) {

      // Database to store to
      this.rubbishRef = db.list('rubbish');

      // Place holder for the image
      this.base64Image = "https://placehold.it/250x250";
  }

  // Save the image and details to database
  async saveImage() {

    let that = this;
    let metadata = {
      contentType: 'image/jpg'
    };
    let storageRef = firebase.storage().ref();

    // Create a timestamp as filename
    const filename = Math.floor(Date.now() / 1000);

    // Create a reference to 'img/todays-date.jpg'
     await storageRef.child("rubbish/" + that.plastic.typeoftrash + "/" + filename + ".jpg")
       .putString(this.base64Image, firebase.storage.StringFormat.DATA_URL, metadata)
       .then(res => {
        // get current position
        this.geolocation.getCurrentPosition().then(pos => {
          that.plastic.lat = pos.coords.latitude;
          that.plastic.long = pos.coords.longitude;
          console.log('lat: ' + pos.coords.latitude + ', lon: ' + pos.coords.longitude + ', timestamp: ' + pos.timestamp);
        });

        if (that.af.auth.currentUser) {
          that.key = that.af.auth.currentUser.uid;
          that.UserRef = that.db.object('/users/' + that.key);
          that.UserRef.valueChanges().subscribe(val => {
            that.plastic.user = val.name;
          });
          that.plastic.userId = that.af.auth.currentUser.uid;
        }

        // Get Timestamp
        that.plastic.ts = Date.now();

        // Get image URL
        storageRef.child("rubbish/" + that.plastic.typeoftrash + "/" + filename + ".jpg").getDownloadURL()
        .then(function (imgUrl) {
          that.plastic.imgUrl = imgUrl;

        console.log(that.plastic);
        // if error no image do not create
        if (that.plastic.imgUrl != null) {
          that.rubbishRef.push(that.plastic).then(res => {
            that.createToaster('Data Added Successfully!', 3000);
          })
        }
      });
    }).catch(error => {
      that.createToaster('Error in Uploading!', 3000);
      console.log("FireBase Error" + JSON.stringify(error));
    });
  }

  // Take a picture details
  async takePicture() {
      this.camera.getPicture({
          quality : 75,
          destinationType : this.camera.DestinationType.DATA_URL,
          sourceType : this.camera.PictureSourceType.CAMERA,
          allowEdit : true,
          encodingType: this.camera.EncodingType.JPEG,
          targetWidth: 250,
          targetHeight: 250,
          saveToPhotoAlbum: false
      }).then(imageData => {
          this.vision.getLogo(imageData).subscribe((result) => {
              this.base64Image = "data:image/jpg;base64," + imageData;
              // Get the response from the check
              const logos = result['responses'][0]['logoAnnotations'];

              // check if logo exist
              if (logos === undefined || logos === null) {
                  // prompt no data
                   this.visionresponse = logos;
                   this.createToaster('No Logo detected', 3000);
              } else {
                logos.forEach(logo =>
                    this.visionresponse = logo.description
                );
                this.createToaster('Logo detected: ' + this.visionresponse, 3000);
              }

          }, error => {
            console.log("ERROR -> " + JSON.stringify(error));
            this.createToaster('Not able to connect to AI, try again', 3000);
          });

      }, error => {
          console.log("ERROR -> " + JSON.stringify(error));
          this.createToaster('Was not able to take a picture, try again', 3000);
      });
  }

  // Create the display message
  createToaster(message, duration) {
      let toast = this.toastCtrl.create({
        message: message,
        duration: duration
      });
      toast.present();
  }
}
In the end
That is all to give you an idea on how to use Angular Ionic with the Google Vision API. If you have any questions, you can ask them in the comments section below.
Tech Disillusionment
For four decades, I have worked in the tech industry. I started in the 1980s when computing...

A Poem: The Consultant's Message
On a Friday, cold and gray,
The message came, sharp as steel,
Not from those we...
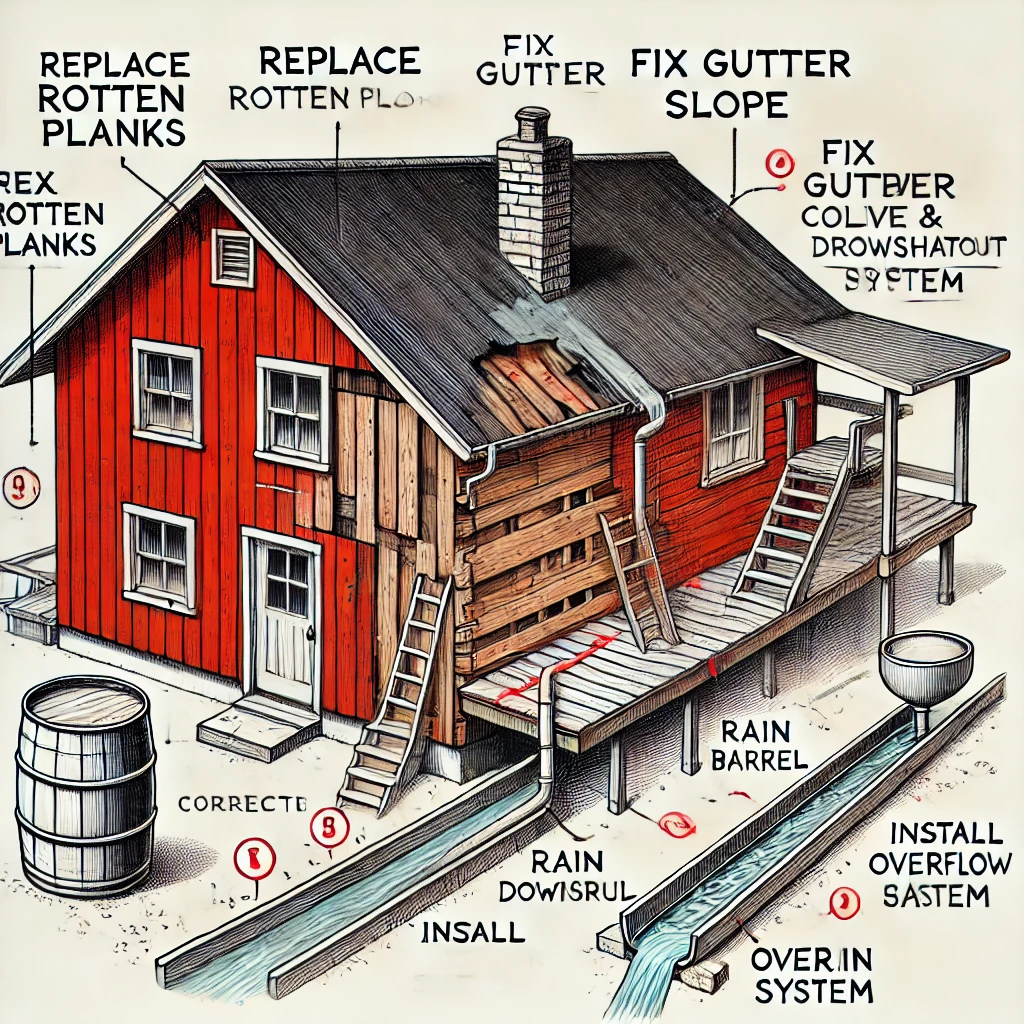
Using AI to Plan Wall Repair and Gutter Installation
In this article, I will share my experience using AI to plan the work required to fix a wall...