Setting up WordPress on Google App Engine
by bernt & torsten
You decide that you want to use WordPress for your website, you have several options for hosting WordPress. There are many hosting options available to you, I’m going to cover in this article how you can use the Google Cloud Platform (GCP) to host your WordPress website.
I should give you a warning before you read on if you are not technical this article is not for you, as it would require knowledge on how to use command-line tools, don’t be discouraged if you have the time and learn from failure then read on.
Google Cloud Platform WordPress Hosting products
In GCP you have several product options on how to set up a WordPress site, it may not be an easy task to decide what is right for your organization, let’s take a look at the different options:
- Google Compute Engine (GCE) – Infrastructure as a Service (IaaS) – Hosted VMs where you manage everything, including control of installed disk drives. You have complete control over the VMs’ environment and runtime as you can write or install any program there. In GCE you have to manually configure your infrastructure to handle scalability by using Load Balancer.
- Kubernetes Engine – A hybrid between PaaS and IaaS – you design your application in terms of micro-services, specify how they’re scaled etc, but let Container Engine (the Google Cloud Platform implementation of Kubernetes) perform the scaling.
- Google App Engine (GAE) – Platform as a Service (PaaS) – limited runtimes (Python, Java, PHP, Go), very simple to get up and running, auto-scaled etc. You never have to install, patch or configure any software, copy disks, etc. It also offers robust load and capacity management – automatically spinning up and shutting down instances as required.
- Cloud Functions – Serverless Applications – is the next level up from App Engine in terms of abstraction – no instances! It allows developers to deploy bite-size pieces of code that execute in response to different events, which may include HTTP requests, changes in Cloud Storage, etc. The biggest difference with App Engine is that Cloud Functions are priced per 100 milliseconds, while App Engine instances shut down only after 15 minutes of inactivity. Another advantage is that Cloud Functions execute immediately, while a call to App Engine may require a new instance – and cold-starting a new instance may take a few seconds or longer (depending on runtime and your code). This makes Cloud Functions ideal for (a) rare calls – no need to keep an instance live just in case something happens, (b) rapidly changing loads where instances are often spinning and shutting down.
Which GCP service to choose from, except for Cloud Functions the other options are solutions that allow you to host your applications in the cloud. It comes down to how much work you are willing to take on. The more control you decide to take, the more work you have to do but the more precise tuning (and flexibility) you get. Google App Engine saves a lot of time that can be better spent on improving your own apps or otherwise making money.
You can mix both App Engine and Compute Engine, if necessary. They both work well with the other parts of the Google Cloud Platform.
Setting up WordPress on Google App Engine
In the remaining part of this article, I will focus on how to set up and to deploy a WordPress site to the Google App Engine flexible environment. Google App Engine comes in two environments, “Standard” and “Flexible”.
- Google App Engine (Standard) is like a read-only sandboxed folder where you upload code to execute from and don’t worry about the rest (yes: read-only). App Engine Standard supports “scale to zero” – if your app isn’t getting any traffic, it can be completely dormant.
- Google App Engine (Flexible) is in fact like a whole file-system (not just a locked down folder), where you have more power than the Standard engine, e.g. you have read/write permissions, (but less compared to a Compute Engine). In GAE standard you have a fixed set of libraries installed for you and you cannot deploy 3rd party libraries at will. In the Flexible environment, you can install whatever library your app depends on, including custom build environments.
Objectives
- Create a second-generation Google Cloud SQL instance.
- Configure a simple WordPress site.
- Deploy the sample WordPress site to the App Engine flexible environment.
Costs
Be warned that what I’m going to show uses billable components of Cloud Platform including Google Compute Engine and Cloud SQL. For pricing you would want to check the following:
A great resource is the Google Cloud Platform Pricing Calculator, here you can calculate the cost of using Google Cloud Platform.
Prerequisites
If you don’t have a Google Cloud Platform account, you would need to create an account – you could start with the free option – for more details. When you have created your account and have logged on there are few steps to do before you start to deploy a WordPress site, you need to do the following in the Google Cloud Platform:
- Select or create a Cloud Platform project – Manage Resources Page
- Enable billing for your project – Enable Billing
- Enable the required APIs – Enable the API’s
- Create a new service account. Download the JSON key file and save it in a secure place on your laptop.
On the environment that you using to deploy WordPress from, probably your laptop, there are few things that you would need to do:
- Install and initialize the Cloud SDK – read details on how to install and configure.
- Install PHP and Composer.
- Download Cloud SQL Proxy and make it executable. Also, add the location of the Cloud SQL Proxy executable file to your environment
PATHvariable. - Install a MySQL client – My preferred MYSQL client is MySQL Workbench, which I’m using for the WordPress deploy.
Creating and configuring a Cloud SQL Second Generation instance
Let’s get started on the details, I’m going to deploy a Cloud SQL Second Generation instance:
gcloud sql instances create wordpress-cloud-sql --activation-policy=ALWAYS --tier=db-n1-standard-1
Set the root password for your instance:
gcloud sql instances set-root-password wordpress-cloud-sql --password [YOUR_SQL_ROOT_PASSWORD]
where [YOUR_SQL_ROOT_PASSWORD] is a secure password of your choice.
Cloud SQL Proxy
I have bundled a copy of Cloud SQL Proxy in my GitHub repository, you would need to clone the repository:
git clone https://github.com/tottaz/wordpress-GCP-Appengine-starterkit
To run the Cloud SQL Proxy, first
cd wordpress-GCP-Appengine-starterkit
Now you can fire off the following command
./cloud_sql_proxy -dir /tmp/cloudsql -instances=[YOUR_PROJECT_ID]:us-central1:wordpress-cloud-sql=tcp:3306 -credential_file=[PATH_TO_YOUR_SERVICE_ACCOUNT_JSON]
where
[YOUR_PROJECT_ID] is your project ID [PATH_TO_YOUR_SERVICE_ACCOUNT_JSON] is the path to the service account JSON file that you downloaded previously.The output should indicate that the proxy is ready for new connections:

It should show:
Listening on 127.0.0.1:3306 for [YOUR_PROJECT_ID]:us-central1:wordpress-cloud-sql
Ready for new connections
If you getting an error like this
listen tcp 127.0.0.1:3306: bind: address already in use
The port is already in use, you either have another Cloud SQL database listening on that port or you have a local MySQL database listening to port 3306. I had that problem as my MAMP environment on the laptop was active. Just shut it down.
Starting MySQL Workbench
Next, I started MySQL Workbench which I used to create a new database and a user:
The first step in MySQL Workbench was to create a new connection.

Fill in the details of the Google Cloud App Engine SQL configuration, hostname, port and username.
When you connect you will be prompted to enter your [YOUR_SQL_ROOT_PASSWORD]
, that you have already created., in a previous step.

Next, we are going to create the database for WordPress, you can copy the following code snippet:
create database wordpressdb;
create user 'wp-admin'@'%' identified by '[YOUR_DATABASE_PASSWORD]';
grant all on wordpressdb.* to 'wp-admin'@'%';
where:
[YOUR_SQL_ROOT_PASSWORD] is the root password for your Cloud SQL instance. [YOUR_DATABASE_PASSWORD] is a secure password of your choice.Into your query window in MySQL Workbench, as shown in the image. You could hit execute and the database is created, a user is created.

create database wordpressdb;
create user 'wp-admin'@'%' identified by [YOUR_DATABASE_PASSWORD];
grant all on wordpressdb.* to 'wp-admin'@'%';
Setting up the WordPress project
Make sure that you have cloned the repository, which was explained previously:
git clone https://github.com/tottaz/wordpress-GCP-Appengine-starterkit
Make sure you are in the cloned directory
cd wordpress-GCP-Appengine-starterkit
Next, you need to install the dependencies:
composer install
When that is completed run the helper script:
php wordpress-helper.php setup -n -d ./wordpress-project --db_instance=wordpress-cloud-sql --db_name=wordpressdb --db_user=wp-admin -p [YOUR_PROJECT_ID] --db_password=[YOUR_DATABASE_PASSWORD]
where:
[YOUR_PROJECT_ID] is your project ID. [YOUR_DATABASE_PASSWORD] is your database password.The -d parameter specifies the location of your WordPress project on your laptop.
The helper script writes information to wordpress-project/wordpress/wp-config.php. Inspect the content of wp-config.php to verify that your names, project ID, and database password are correct.
if ($onGae) {
/ Production environment */
define('DB_HOST', ':/cloudsql/[YOUR_PROJECT_ID]:us-central1:wordpress-cloud-sql');
/ The name of the database for WordPress /
define('DB_NAME', 'wordpressdb');
/ MySQL database username */
define('DB_USER', 'wp-admin');
/ MySQL database password /
define('DB_PASSWORD', '[YOUR_DATABASE_PASSWORD]');
} else {
/ Local environment */
define('DB_HOST', '127.0.0.1');
/ The name of the database for WordPress /
define('DB_NAME', 'wordpressdb');
/ MySQL database username */
define('DB_USER', 'wp-admin');
/ MySQL database password /
define('DB_PASSWORD', '[YOUR_DATABASE_PASSWORD]');
}
Please Check
In your wp-config.php file looks like this
define('DB_HOST', ':/cloudsql/[YOUR_PROJECT_ID]::wordpress-cloud-sql');
the region is missing, add the region
define('DB_HOST', ':/cloudsql/[YOUR_PROJECT_ID]:us-central1:wordpress-cloud-sql');
Also, check your app.yaml file
If it looks like this, you need to add the region
cloud_sql_instances: mambo50-28b4f::wordpress-cloud-sql
should look like this
cloud_sql_instances: mambo50-28b4f:us-central1:wordpress-cloud-sql
Deploying the WordPress project to the App Engine flexible environment
Go to your WordPress project directory:
cd wordpress-project
Deploy the WordPress project:
gcloud app deploy
You will see the following

You can view on the GCP console, the details of your newly deployed WordPress App Engine

Access the site and install WordPress:
gcloud app browse
This command opens a browser and displays a WordPress installation page. Follow the instructions on the page.
As an alternative to entering the preceding command, enter this URL in a browser:
https://[YOUR_PROJECT_ID].appspot.com
where [YOUR_PROJECT_ID] is your project ID.
Updating WordPress, plugins, and themes
It’s important to keep WordPress, plugins, and themes up to date. You can keep these items updated by using the wp tool. After an update, you need to re-deploy the WordPress project.
For the next steps to work, you need to have the WP-CLI install, to manage your WordPress from your command line. If you do not have WP-CLI installed, you need to install the WP-CLI if you want to be able to update WordPress.
Using the cURL command, type:
https://raw.githubusercontent.com/wp-cli/builds/gh-pages/phar/wp-cli.phar
This will download and extract the WP-CLI files to the directory you are in.
We will need to set the permissions to make it executable. Enter the following command:
chmod +x wp-cli.phar
For the command below to work, you would need to move wp-cli.phar to a folder and rename it to wp
mv wp-cli.phar vendor/bin/wp
You could also move the WP-CLI to the global bin directory, and rename the file to WP, then you can use the WP command in any directories that you are in.
sudo mv wp-cli.phar /usr/local/bin/wp
Now you can go ahead and update WordPress core:
vendor/bin/wp core update --path=wordpress
Update plugins:
vendor/bin/wp plugin update --all --path=wordpress
Just in case it updates any of the drop-ins, copy the files:
cp wordpress/wp-content/plugins/batcache/advanced-cache.php wordpress/wp-content/plugins/memcached/object-cache.php wordpress/wp-content
Update themes
vendor/bin/wp theme update --all --path=wordpress
Deploy the project again:
gcloud app deploy
Cleaning up
To avoid incurring charges to your Google Cloud Platform account for the resources used:
Delete the project
The easiest way to eliminate billing is to delete the project you created.
To delete the project:
- Warning: Deleting a project has the following consequences:
- If you used an existing project, you’ll also delete any other work you’ve done in the project.
- You can’t reuse the project ID of a deleted project. If you created a custom project ID that you plan to use in the future, you should delete the resources inside the project instead. This ensures that URLs that use the project ID, such as an appspot.com URL, remain available.
- If you are exploring quickstarts, reusing projects instead of deleting them prevents you from exceeding project quota limits.
- In the Cloud Platform Console, go to the Projects Page.
- In the project list, select the project you want to delete and click the Delete project.
- In the dialog, type the project ID, and then click Shut down to delete the project.
Delete non-default versions of your app
If you don’t want to delete your project, you can reduce costs by deleting the non-default versions of your app.
To delete an app version:
- In the Cloud Platform Console, go to the App Engine Versions page.
- Click the checkbox next to the non-default app version you want to delete. Note: The only way you can delete the default version of your App Engine app is by deleting your project. However, you can stop the default version in the Cloud Platform Console. This action shuts down all instances associated with the version. You can restart these instances later if needed.
- In the App Engine standard environment, you can stop the default version only if your app has manual or basic scaling.
- Click the Delete button at the top of the page to delete the app version.
Delete your Cloud SQL instance
To delete a Cloud SQL instance:
- In the Cloud Platform Console, go to the SQL Instances page. SQL Instances Page
- Click the name of the SQL instance you want to delete.
- Click the Delete button at the top of the page to delete the instance.
Conclusion
If you find the content useful, I like to hear from you, please comment below or you can contact me through the contact form.

Tech Disillusionment
For four decades, I have worked in the tech industry. I started in the 1980s when computing...

A Poem: The Consultant's Message
On a Friday, cold and gray,
The message came, sharp as steel,
Not from those we...
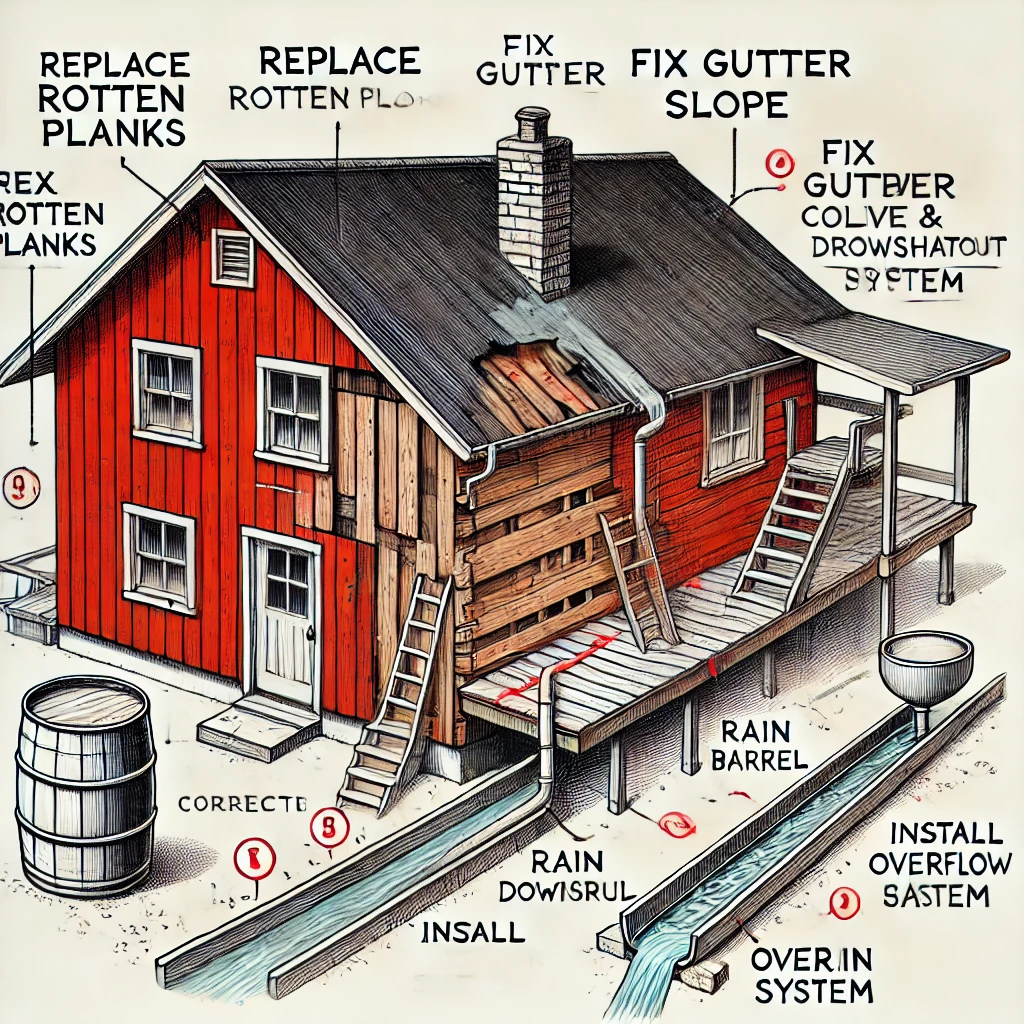
Using AI to Plan Wall Repair and Gutter Installation
In this article, I will share my experience using AI to plan the work required to fix a wall...