
Hosting your AngularJS app on Google Firebase Hosting
by bernt & torsten
Not sure how familiar you are with Google Firebase Hosting, let me give a the 7 second load down. Google Firebase Hosting is a hosting service for your web app, that you can deploy an web app in seconds, it could be a static html site or a full blown nodejs app. Google Firebase Hosting is closely integrated with Google Firebase Cloud Functions so you can build and host microservices on Firebase. Firebase offers many great features (and has a solid free plan).Firebase
- Firebase Realtime Database
- Firebase Hosting
- Firebase Authentication
- Firebase Cloud Functions
- Firebase Cloud Storage
- … and many more features
The cool thing with Google Firebase Hosting is that when you deploy your app, you get low latency all around the globe. SSL is part of the service, no need to worry about SSL certificates on top of that you can deploy with your own domain name, just with a few clicks.
Using Firebase Cloud Functions you can integrate functions with your hosted app, with a function you could, for instance, use Google Vision API if your app allows image uploads and you want to blur the image if it contains nudity, violence.
With Firebase Hosting, you can deploy a single-page web app, a mobile app landing page, or a progressive web app without all the hassle. Google Firebase Hosting supports, for instance, in principle you can use frameworks like Express or Angular to build your app and deploy to Google Firebase Hosting.
What we will do
For this exercise, I will be using Firebase hosting to host my Angular app.
I’m assuming that you are familiar with Angular, and know how to build an Angular App – for a
What I’m going to explain is how to deploy your Angular App to Firebase Hosting, and these are the steps I’m going to follow:
- The Angular CLI will create our dist files: ng build –prod
- We’ll deploy using Firebase command line tools: firebase deploy
- Firebase will host and handle routing!
I’m going to be using the Angular CLI to create the Angular app that will be deployed. Here is a good resource for how to use Angular CLI.
Install the CLI
If you have not installed CLI yet, go ahead and do so using Node and npm.
npm install -g @angular/cliNote: The -g flag is to install globally across our entire machine.
Start an Angular App
Once we have the CLI, we can create a new Angular app and test it out using the following:
# create a new app
 ng new litter-app

# go into our new app
 cd litter-app

# serve it locally and see it in action
 ng serve --open
Our app is good to go! Let’s start setting up our Firebase app.
Creating the Firebase Account
If you don’t have a Firebase account, then you need at this point to set one up, when you are logged into Firebase create your first Firebase app, this is required so we know where to deploy to.

That’s all we had to do in the Firebase dashboard.
Installing the Firebase Tools

In order to deploy to Firebase, we’ll need the Firebase CLI tools. We are going to:
- Download the tools
- Login to Firebase using the tools
- Link our local app to our Firebase app
Install the Firebase Tools
We’ll use npm to install similar to how we installed the Angular CLI:
npm install -g firebase-toolsLogin to Firebase

We’ll use the CLI tools to login to Firebase.
firebase loginThis will open your browser and allow us to log in from there.
We are finished, ready to use the tools.
Using Firebase In Our Angular App
The first step is to connect your local Angular app to your Firebase app that you created in the Firebase dashboard. For that, you need to do
firebase initUpon initializing the project you’ll be asked a few questions:
- Firebase CLI features…: Hosting.
- Database rules file: You can keep that default file name that they provide, or change it if you prefer. This file will be created and will contain the database rules for your app.
- Public directory: Type in dist, because this is where your production-ready Angular app assets are.
- Configure as a single-page app: Most of the time you’ll say yes (y) for this one.
- Overwrite index.html: No.
After the command is executed, two new files are created:
.firebaserc: Sets the Firebase project we’re linking to
{
  "projects": {
    "default": "litter-app"
  }
}
firebase.json: Sets the hosting folder and rewrites
{
  "hosting": {
    "public": "dist",
    "rewrites": [
      {
        "source": "**",
        "destination": "/index.html"
      }
    ]
  }
}
Our app is now linked to our Firebase app. We’re ready to finally deploy!
Deploying
The deploy is essentially two steps:
- Create the production files in the dist folder
- Deploy to Firebase!
Build Our Angular App
We’ll create our production files using the Angular CLI command:
ng build --prodThis will create a brand new dist/ folder in our project with the files necessary to launch our app.
You could take these files and open the index.html file locally and see your app running!
Deploy to Firebase
Now that we have the dist/ folder, we can tell Firebase to deploy it:
firebase deployOur app is now deployed and ready to view! Run this Firebase command to see it in action:
firebase open hosting:sitehttps://<your firebase sub directory>.firebaseapp.com/Firebase Hosting Dashboard
You can visit the Firebase dashboard to see the logs of all your deployments. You can even set a custom domain in the dashboard.

Extra: Script to Deploy
If you want to automate the process of building and deploying, you can add a script to your package.json file.
"scripts": {
  ...
  "deploy": "ng build --prod && firebase deploy"
},
Now we can run the deploy script with:
npm run deployWatch as both commands run and our site is updated!
Conclusion
With Firebase hosting, you can very easily deploy an Angular app to a production environment and r

Tech Disillusionment
For four decades, I have worked in the tech industry. I started in the 1980s when computing...

A Poem: The Consultant's Message
On a Friday, cold and gray,
The message came, sharp as steel,
Not from those we...
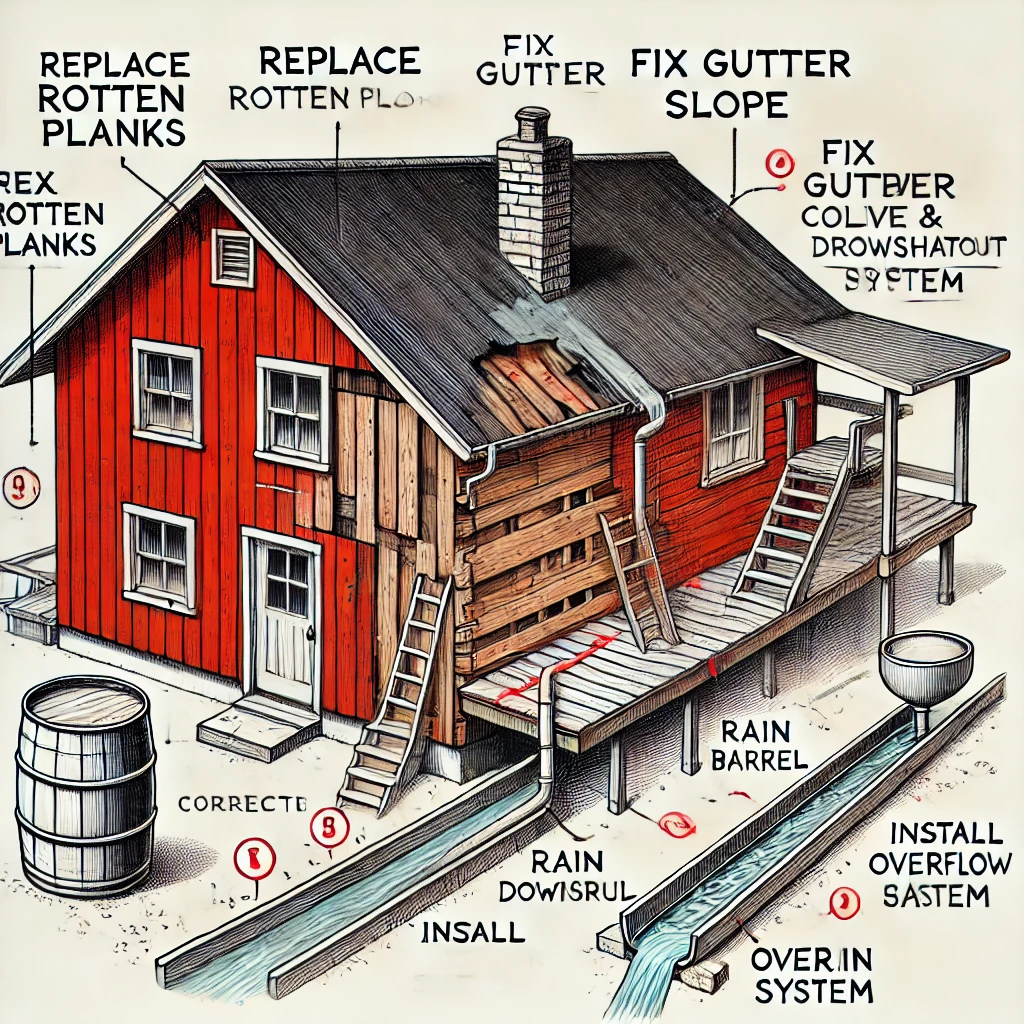
Using AI to Plan Wall Repair and Gutter Installation
In this article, I will share my experience using AI to plan the work required to fix a wall...