Finding digital photo location
by bernt & torsten
I been working on my Tour De France bike trip story and needed to upload pictures. I had taken a lot of pictures during my bike trip, some pictures I was not sure where I had taken them.
How do I find out where a picture was taken, if you use a mobile phone to take your picture, then there is an easy way to find out where a picture has been taken. EXIF stands for Exchangeable Image File Format. Every time you take a picture with your digital camera or phone, a file (typically a JPEG) is written to your device’s storage. EXIF contains information about your camera, and potentially where the picture was taken (GPS coordinates).
In each photo that you take, the EXIF data is embedded in your pictures. You can prevent geotagging by simply turning it off in your camera or camera app.
You can often play an Internet detective, peeking at hidden details in photos you see online to find out where they were taken. You may want to hide this information when sharing sensitive photos online.
Finding Picture Location
But, first things first, to view EXIF in Apple, first select the photo or photos you want to fix, right-click, and select “Get Info.”

Select Details to find the latitude and longitude of where the picture was taken.

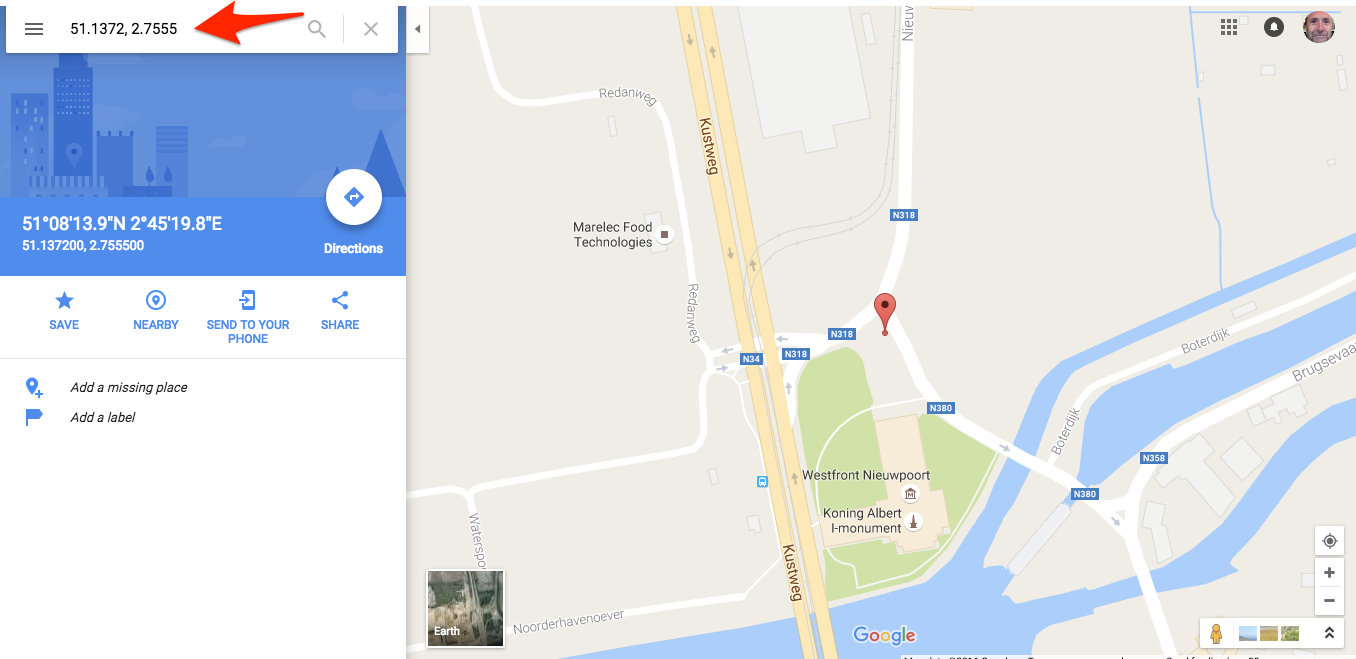
As you can see, your image has a lot of data stored in it, to find out where the pictures were taken. You take the Longitude and Latitude details and open up Google maps. Add your coordinates in the search like 51.1372, 2.7555

That is all, click on search and the location will show up.
Removing EXIF Data
Remove Using GIMP
GIMP is an effective way to remove EXIF, especially if you already use GIMP on a regular basis. Simply launch GIMP, open your image, then go to File > Export As… to export the image. (Note: GIMP differentiates between “saving” and “exporting” — the former is for projects, the latter is for images.) Make sure you name the image with a JPG extension!
After clicking the Export button, you’ll be presented with a window where you can set export options. Expand the options by opening the Advanced Options panel, and uncheck Save EXIF data. Change the other options to your liking, then click Export to finish.
You have to open all images and export them one by one, and even though it only takes about five seconds per, it can be quite a nuisance.
You could also do this using Photoshop instead of GIMP, but is it really worth buying Photoshop just to remove EXIF data?
Using a Mobile App to remove EXIF Data
If you take most of your photos on your phone, first check your Camera app’s settings to see if you can disable EXIF data generation. Some camera apps may only let you disable location inclusion, while others may not allow you to disable EXIF at all. If that does not work.
Then You can try Photo Exif Eraser for Android or Metapho for iOS. Both are free to download, but Metapho requires an in-app purchase to unlock the ability to remove metadata, edit date and location, and share safely to social networks.
Download — Photo Exif Eraser for Android (Free)
Download — Metapho for iOS (Free, Premium for metadata removal)
Any comments just added them below.

Tech Disillusionment
For four decades, I have worked in the tech industry. I started in the 1980s when computing...

A Poem: The Consultant's Message
On a Friday, cold and gray,
The message came, sharp as steel,
Not from those we...

Using AI to Plan Wall Repair and Gutter Installation
In this article, I will share my experience using AI to plan the work required to fix a wall...