Apache + MySQL + PHP + Xdebug and Codeigniter on macOS using Docker
by bernt & torsten
We have developed an application internally that uses Codeigniter as the main PHP framework. Over the years we have added many new functionalities, so we need a solid development environment. up to now we have let our developers use MAMP(MacOS), Windows(LAMP) or individually install Apache, MySQL, PHP (Linux) debugging tools has been up to the developers to choose how.
As we have been focused on developing new features and maintaining our codebase, we have spent very little time on our development environment, after a review, we were surprised at how much time we have spent developing against different versions of MySQL and PHP.
We decide to give docker ago so we could standardize on the development stack and hopefully cut downtime on having different versions. use the same environment when we develop.
To mention a few issues we had, we had a developer that was always on the latest version, when the developer programmed new SQL queries, he took advantage of syntax from the latest version, which caused issues for us in testing in the test environment, as the code broke as we run a different version in the test environment. Another example is that MySQL 8 has stricter SQL Mode, a variable – one of the SQL Mode that broke our code was zero dates, we had based some of our features on checking on zero dates, we had to remove from SQL Mode zero dates.
Another issue that came to light was that MAMP that I was using did not support MySQL 8 I can not upgrade or downgrade the version of MySQL I have to use MySQL 5.7, so our use case was very clear for giving docker a shot.
I have some experience with Docker Desktop as I run our #datastack on a budget with Docker Desktop
Why dockerize?
The advantages of using Docker are:
- Portability: No “worked on my machine” problems. Once you have tested your containerized application you can deploy it to any other system where Docker is running and you can be sure that your application will perform exactly as it did when you tested it.
- Performance: Although virtual machines are an alternative to containers, the fact that containers do not contain an operating system (whereas virtual machines do) means that containers have much smaller footprints than virtual machines, are faster to create, and quicker to start.
- Agility: The portability and performance benefits offered by containers can help you make your development process more agile and responsive.
- Isolation: A Docker container that contains one of your applications also includes the relevant versions of any supporting software that your application requires.
- Scalability: You can quickly create new containers if demand for your applications requires them.
- Cleanliness: Keep your base system clean from any project-specific stuff.
- Ease of use: You will not even realize that you are using Docker.
Installing Docker
If you do not have docker desktop installed, download the Docker Desktop for Mac.
Creating an image
With Docker installed locally, we need to tell Docker what type of server we want to run. We do this with an image file. Yes, I’m taking a few liberties with those terms.
There are all sorts of images available. As you become more proficient with Docker you can find (or create) one to better suit your application needs.
The one I’m offering web server running PHP and Apache. This effectively replaces the technologies which were originally installed by MAMP on my macOS.
Here are the specs for this image: PHP 8 + Apache
In addition, this includes the latest version of Composer (2.0). All this goes in a Dockerfile. Here’s the one I use:
# PHP + Apache
FROM php:8.0-apache

# Update OS and install common dev tools
RUN apt-get update
RUN apt-get install -y wget vim git zip unzip zlib1g-dev libzip-dev libpng-dev

RUN docker-php-ext-install mysqli pdo_mysql gd zip pcntl exif
RUN docker-php-ext-enable mysqli

# Enable common Apache modules
RUN a2enmod headers expires rewrite

# XDEBUG
RUN pecl install xdebug
RUN docker-php-ext-enable xdebug
# This needs in order to run xdebug from VSCode
ENV PHP_IDE_CONFIG 'serverName=DockerApp'

# Install Composer
COPY --from=composer:2 /usr/bin/composer /usr/local/bin/composer

# Set working directory to web files
WORKDIR /var/www/html
I put this docker file in a folder named docker.
Note:
- Docker file installs Xdebug extension with
peclcommand
Building the Docker image
Now that we have an image we may turn this into a runnable server by running:
docker image build --no-cache -f docker/Dockerfile -t dlamp .Running this command will generate an executable version of our image. It builds a server if you will. Something we may run and interact with. This is what Docker calls a container.
Using the the option -t gives the container a name. This makes it easier to identify when we run other Docker commands later.
Running the ~~server~~ container
Now that we built the image into a container, we can run an instance of this container with the following command:
docker run -d -p 80:80 dlampThis will start our web server running Apache and PHP in the background using the -d option. We can verify this by running the following Docker command:
docker container psSince we mapped the web port 80 with the option -p, we should also be able to open a browser and visit http://127.0.0.1/. You probably get an error page as we have no .php files yet.
Interacting with the server
For the most part, I interact with the docker container through the Docker Desktop.

I can restart, stop and delete containers, I can launch the app and the CLI for my app. I find it very handy.
Running the full stack
The PHP and Apache are running, we have not added a MySQL server or PhpMyAdmin. We need to have our complete Apache, MySQL, and PHP stack running if we’re going to develop locally on macOS.
We could do this with multiple docker run commands. Passing the -d option to run in the background, along with multiple options such a -p to map the ports and -v set up the volumes. But that would be annoying.
Instead, we can define our stack with a Docker Compose file. Essentially this file defines all the same options we would pass docker run, but in a single place. This gives a complete picture of the stack but also a new set of commands we may run to efficiently manage the entire stack.
Let’s take a look at this docker-compose.yml file:
# ./docker-compose.yml
version: "3.7"

x-defaults:
  network: &network
    networks:
      - net

services:
  php:
    image: emilymamp
    depends_on:
      - "db"
    ports:
      - "8282:80"
    volumes:
      - .:/var/www/html/
    configs:
      - source: apache-vhosts
        target: /etc/apache2/sites-available/000-default.conf
      - source: php-ini
        target: /usr/local/etc/php/conf.d/local.ini
    <<: *network

  db:
    platform: linux/amd64
    image: mysql/mysql-server:8.0.23
    container_name: mysql-container
    ports:
      - "3306:3306"
    environment:
      - MYSQL_ROOT_PASSWORD=root
      - MYSQL_DATABASE=greengarden
      - MYSQL_USER=root
      - MYSQL_PASSWORD=root
    volumes:
       - ./localhost.sql:/docker-entrypoint-initdb.d/localhost.sql
       - ./privileges.sql:/docker-entrypoint-initdb.d/privileges.sql
    <<: *network

  phpmyadmin:
    image: phpmyadmin:latest
    depends_on:
      - "db"
    restart: always
    environment:
      - PMA_ARBITRARY=1
    ports:
    - "8888:80"
    <<: *network

networks:
  net:

volumes:
  data:
    external: true
We are setting up our dlamp, mysql8 and PHPMyAdmin images to run together. They’ll do so under the same network. And we’re passing all those options for the ports and volumes.
We are defining a few additional settings, configuration files for PHP and MySQL, and the root password for MySQL and a generic database user.
To deploy you just have to issue the following commands:
docker-compose upExecute the command in the folder you have your docker-compose.yml file.
Mapping local files
As we launch it from the folder that contains the code base, we access a “volume” that we define in the docker-compose.yml file which maps the local folder. volumes: - .:/var/www/html/
When we do this, we map a folder on the host filesystem (outside of the container context) to the inside of the running containers. Developers may wish to set their projects up like this because it allows them to edit the file outside of the container, yet have the container serve the updated PHP code as soon as changes are saved.
Stopping and restarting our stack
I use the Docker Desktop to stop my containers, and start them as it preserves everything. Of course, there are many other ways to shut down containers, e.g using the docker command line, or shutting down Docker Desktop without stopping the container, I like to use the Docker Desktop for it. That is it you can help us out b letting us know what you would like us to cover next, do not forget to give your support below.

Tech Disillusionment
For four decades, I have worked in the tech industry. I started in the 1980s when computing...

A Poem: The Consultant's Message
On a Friday, cold and gray,
The message came, sharp as steel,
Not from those we...
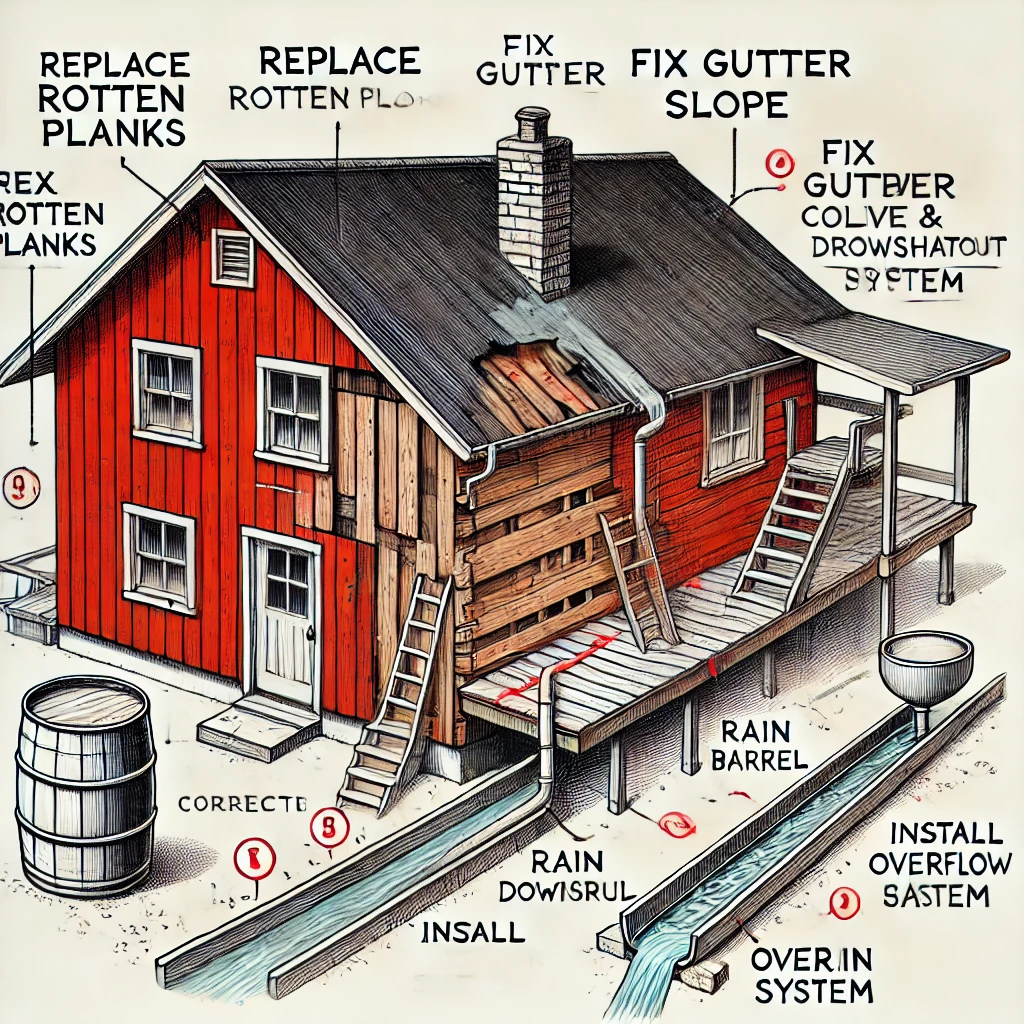
Using AI to Plan Wall Repair and Gutter Installation
In this article, I will share my experience using AI to plan the work required to fix a wall...