Using FileZilla with Google Cloud Platform on OSX
by bernt & torsten
I recently worked on a project to set up WordPress on the Google Cloud Platform (GCP), the setup of WordPress was straight forward in GCP with the Cloud Launcher. To be able to upload files to the server and change permissions I needed to set up SSH access and to configure FileZilla.
This is how you can launch a WordPress site from GCP.

I work on an OS X platform and FileZilla is my goto tool for uploading files to a server. This was the first time for me to use GCP – so I was looking through the documentation that Google has provided, pretty straight forward using the GCP gcloud command line.
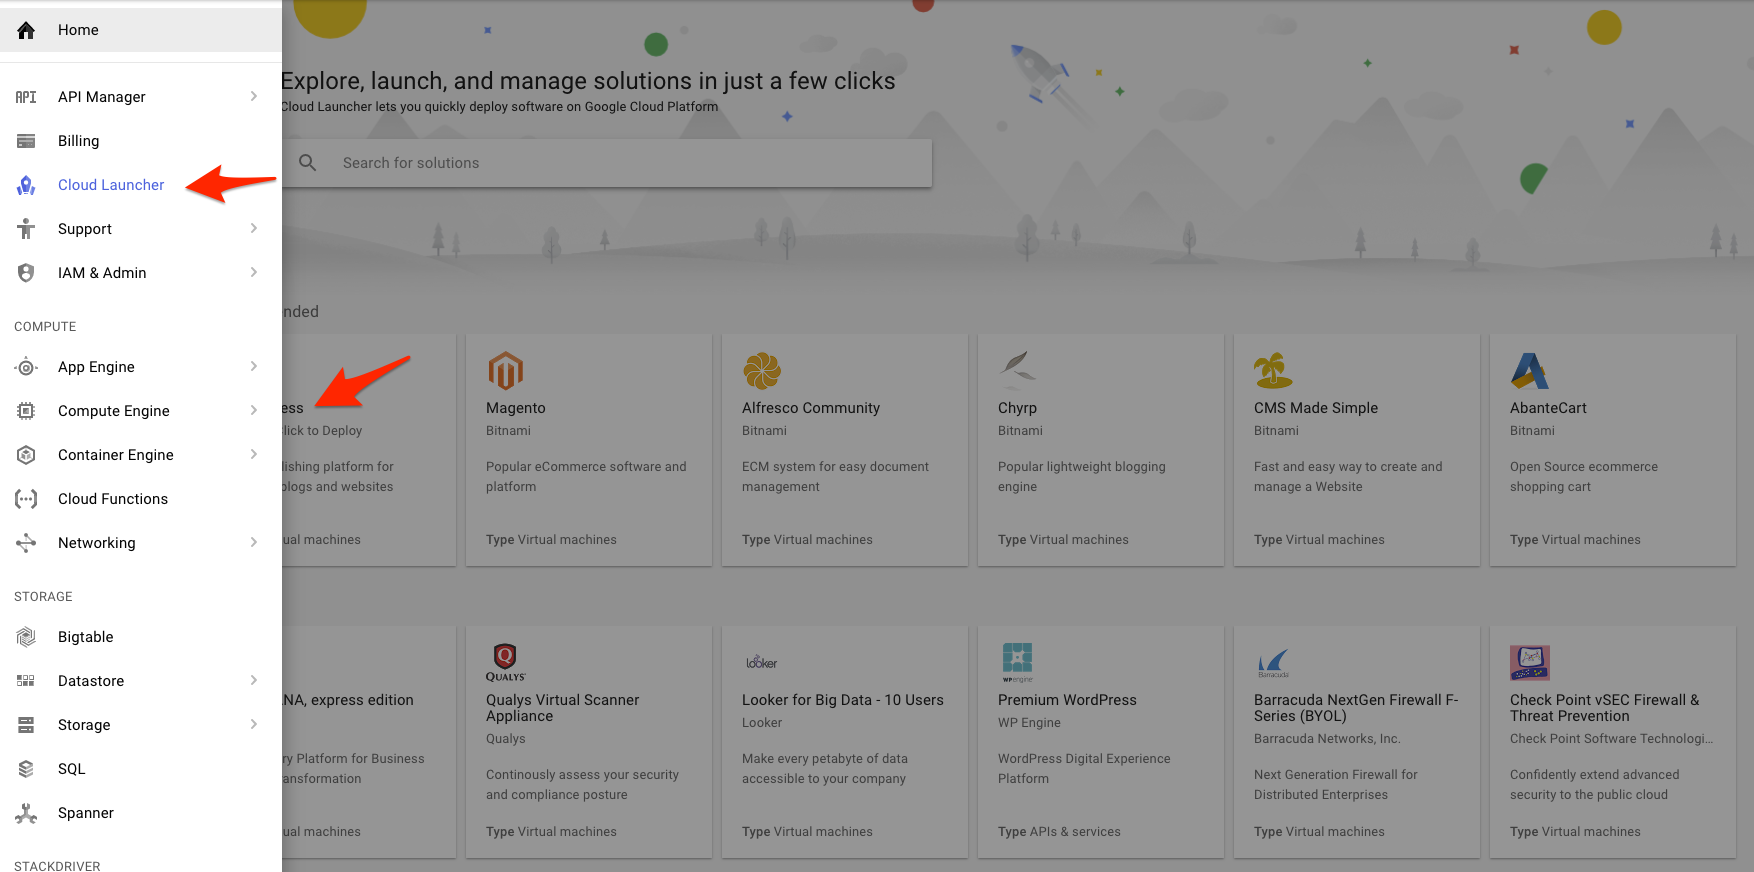
I’m not so much for the command line, I just went for using the GCP web console to get this done.
GCP web console
I first had to generate a new SSH key-pair on my OS X laptop, here is what I did:
- Open a terminal on your workstation and use the ssh-keygen command to generate a new key-pair. Specify the -C flag to add a comment with the username on the instance for whom you will apply the key. The example creates a private key named my-ssh-key, and a public key file named wp-ssh-key.pub.
- ssh-keygen -t rsa -f ~/.ssh/wp-ssh-key -C [USERNAME]
- where [USERNAME] is the user on the instance for whom you will apply the key. If the user does not exist on the instance, Compute Engine automatically creates it using the username that you specify in this command.
- Restrict access to your my-ssh-key private key so that only you can read it and nobody can write to it.
- chmod 400 ~/.ssh/wp-ssh-key
- Go to the metadata page for your project on the GCP web console.
- Click SSH Keys to show a list of project-wide public SSH keys.

- Click the Edit button so that you can modify the public SSH keys in your project.

- Obtain the contents of the ~/.ssh/wp-ssh-key.pub public key file with the cat command.
- cat ~/.ssh/wp-ssh-key.pub
- The terminal shows your public key in the following form:
- ssh-rsa [KEY_VALUE] [USERNAME]
- where:
- [KEY_VALUE] is the generated public key value.
- [USERNAME] is the user on the instance for whom you will apply the key.
- Copy the output from the cat command and paste it as a new item in the list of SSH keys.
- At the bottom of the SSH Keys page, click Save to save your new project-wide SSH key.
The public key is now set to work across all of the instances in your GCP project.
Use the ssh command to connect to your instances
- Use the ssh command to connect to your GCP instance. Specify your username and the external IP address for the instance that you want to connect to. Your username is the Google username that you use to access your project. For this example, the private key is at ~/.ssh/my-ssh-key.
- ssh -i ~/.ssh/wp-ssh-key [USERNAME]@[IP_ADDRESS]
- where:
- [USERNAME] is your username
- [IP_ADDRESS] is the IP for your instance.
If the connection is successful, you can use the terminal to run commands on your instance. When you are done, use the exit command to disconnect from the instance.
Setting up FileZilla
To make FileZilla work with your GCP project and be able to copy files over from your local laptop you need to add the ~/.ssh/wp-ssh-key to Filezilla. You do that in the following way.
- Open FileZilla and select Settings that will open up the settings window.
- Select SFTP option
- Click on add key file
- Select your ~/.ssh/wp-ssh-key from your local laptop.

Miscellaneous config
Depending on the user that you have set up in your ~/.ssh/wp-ssh-key – you might need to do some changes on your server to group management and file permission.
I was using my own name, I got file permission error when I first try to upload, I resolved that by attaching the user in ~/.ssh/wp-ssh-key to the group in the folder I was uploading to. I did this usermod -a -G group username
As this was a WP site installed from the Cloud Launcher, I also had to tweak the file permissions – I used this command chmod -R g+w ./*
Conclusion
That’s all, simple when it works – the first time it can take some time to get it working.
If you have any feedback, you can comment below.

Navigating the Procrastination Pitfalls of the AI Tool Explosion
Maintaining focus and productivity is crucial in an era defined by a constant influx of AI...

The Impact of Living Abroad on Pension Eligibility and Income
Understanding how pension systems interact becomes crucial when people work across multiple...

Tech Disillusionment
For four decades, I have worked in the tech industry. I started in the 1980s when computing...